I made a paper pattern because I will be making enough to use when I go grocery shopping at Aldis. I used dollar store waxed paper to make the pattern. It is thin, and not very waxy at all. I drew a 19" x 16" rectangle on a piece of paper, then drew a 3" square in two of the corners on the long side. I think that makes a bag the perfect size and fits perfectly on the feed sack. When you cut it out, cut out the little squares too so you have something that looks like this:

First, cut the seam off the bottom of the bag.


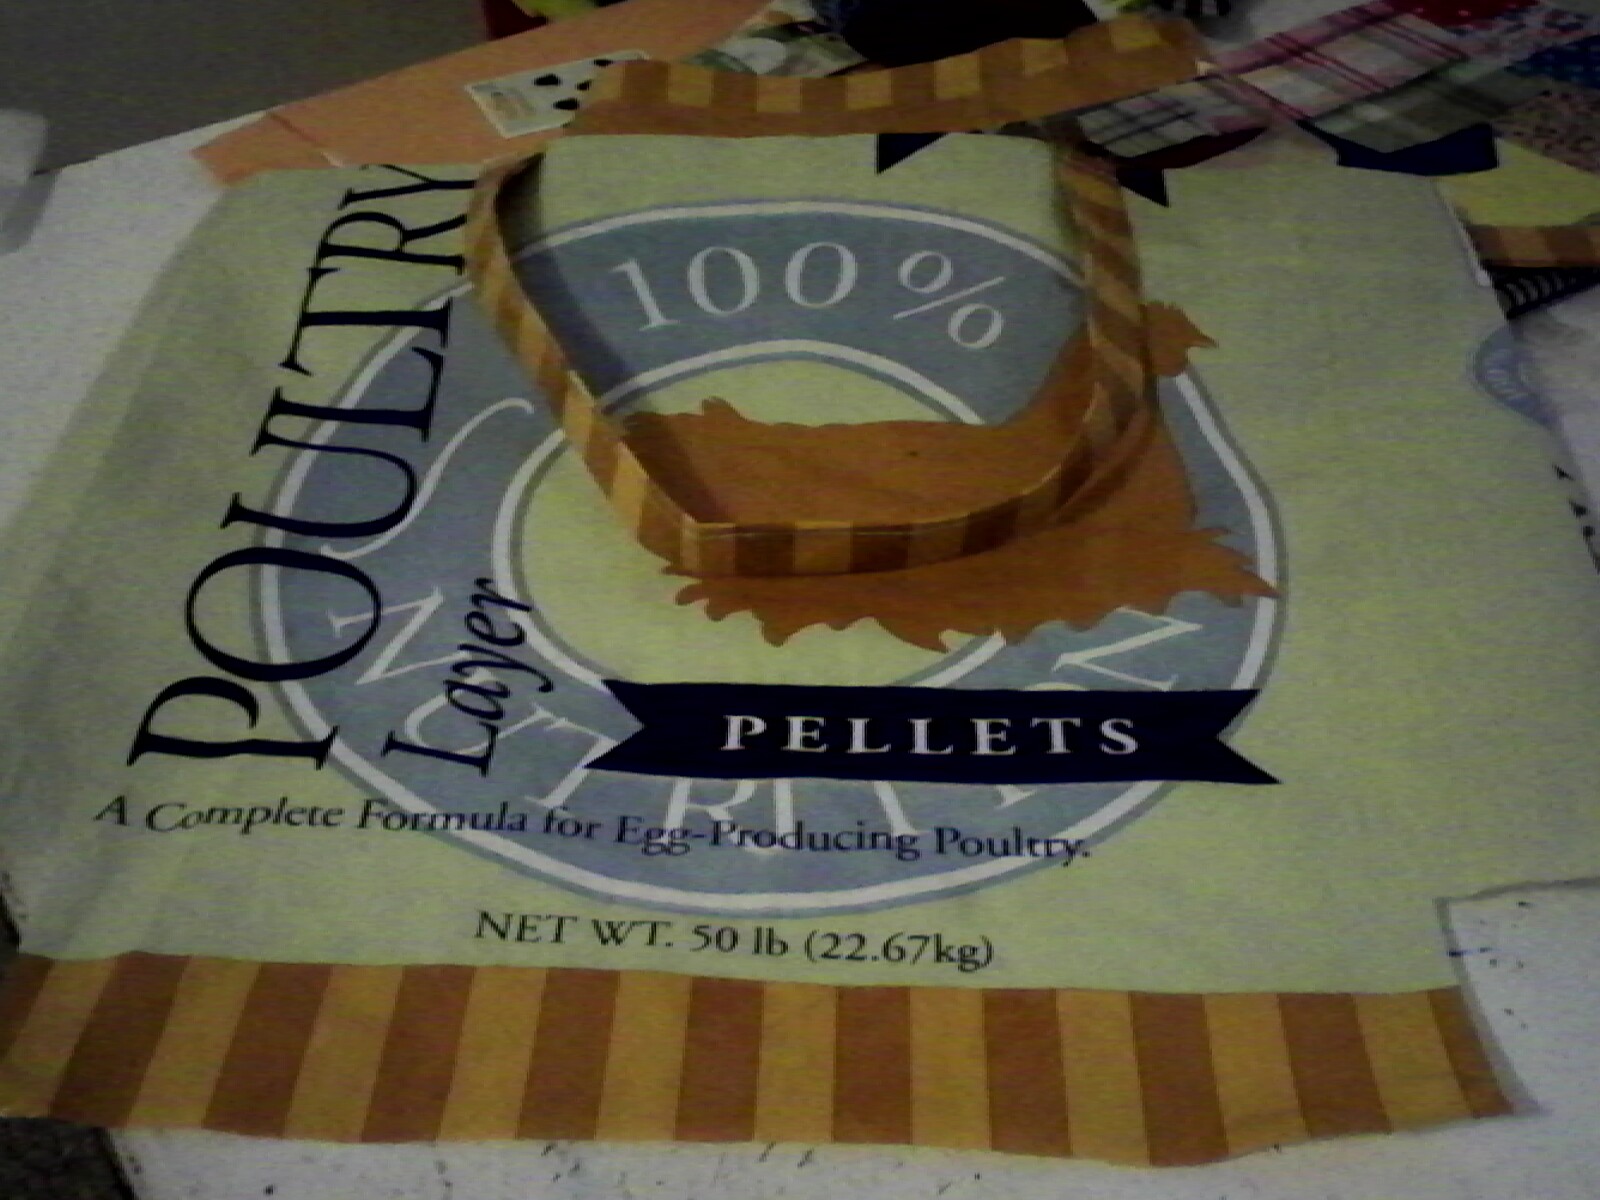
Cut a 4" strip across the width of the bag, then cut that strip in half. You should have two pieces 4" wide x 1/2 the width of the sack.


Press the sides in to meet the middle.

Now press it in half again so the raw edges are encased. Sew along the pressed edges down the length of the strap. You'll need a heavy needle (14 or 16) and heavy thread. I had to turn the tension way up on both top and bottom to get it to work right. Repeat with the other strip.

Baste the handle to the bag body with the raw ends of each handle even with the top edge of the bag and 5" from each side edge. Repeat with the other side.
Now put the bag bodies together right sides together. Sew up both sides and across the bottom with a 3/8" seam leaving the corners open.

Bring the bottom seam and the side seam together.

Now sew across 3/8" away from the raw edge.

Do the same with the other side. You now have a bag with nice square corners and bottom. Turn right side out.

Press the binding strip in half the long way, then press one edge into the middle. Turn under one short end. Pin it to the top of the bag on the outside with raw edges even. Then sew it on with a 3/8" seam. When you get to the end there will be some overlap. Trim it down and fold under again.

Turn that strip to the inside pulling the handles up. Press the top edge even. Sew along the pressed edge on the inside.

You now have a sturdy, reusable grocery bag for the price of some thread. Don't you feel accomplished and eco-friendly?

Blessed be.
No comments:
Post a Comment